Who doesn’t love a good granola? It’s that magical mix of crunchy, sweet, and nutty goodness that can make your mornings feel like a treat. Seriously, if you’ve never tried making homemade granola before, you’re missing out. I know, I know—granola from the store is super convenient. But trust me, there’s nothing like the smell of fresh granola baking in your kitchen.
So let’s talk about my Vanilla Nut Granola Recipe. It’s ridiculously easy to make, packs in tons of flavor, and, best of all, it’s customizable to your taste. Want extra almonds? Go for it! Add some dried cranberries? Why not! It’s your granola, my friend, and you’re the boss here.
Why You’ll Love This Granola Recipe
Before we jump into the step-by-step process, let’s go over why this vanilla nut granola will become your new go-to snack.
- Simple ingredients: If you’ve got oats, nuts, and a few pantry staples, you’re halfway there!
- Customizable: You can swap in whatever nuts or dried fruits you have on hand. Walnuts, cashews, pecans—sky’s the limit!
- Perfect for breakfast or snacks: Serve it with milk or yogurt, sprinkle it over smoothie bowls, or just grab a handful when you need a crunchy fix.
- Baking fills your house with the best aroma: Seriously, it’s like an edible air freshener.
Alright, let’s get into the good stuff. I’ll walk you through how to make this homemade vanilla nut granola—step by step, no sweat.

Ingredients for Vanilla Nut Granola
Okay, grab your apron, and let’s start with what you’ll need. You’ll find most of these ingredients already hanging out in your pantry, so this shouldn’t be a major shopping trip.
Dry Ingredients:
- 3 cups old-fashioned rolled oats (don’t go for the quick oats here; you want that chewy texture)
- 1 cup mixed nuts (I love almonds, pecans, and walnuts, but you can go with what you’ve got)
- 1/4 cup shredded coconut (totally optional, but it gives the granola a fun tropical vibe)
- 1/2 teaspoon cinnamon (adds a warm kick, but if you’re not feeling cinnamon, skip it)
Wet Ingredients:
- 1/4 cup maple syrup (or honey if that’s your thing)
- 1/4 cup coconut oil (melted, so it coats everything beautifully)
- 1 teaspoon vanilla extract (this is the secret ingredient—vanilla makes it extra special)
- A pinch of salt (just a tiny bit to balance out the sweetness)
How to Make Vanilla Nut Granola
Ready to get baking? Trust me, this process is way easier than you think. You’ll have fresh, crunchy granola in about 30 minutes (and that’s with baking time!).
- Preheat the Oven: Start by cranking up your oven to 325°F (165°C). You want it nice and hot so your granola can bake to crispy perfection.
- Mix the Dry Ingredients: In a big mixing bowl, toss together your oats, nuts, coconut, and cinnamon (if you’re using it). Make sure everything’s well combined. I love using a wooden spoon for this—it just feels old-school and cozy.
- Combine the Wet Ingredients: In a separate smaller bowl, whisk together the maple syrup, melted coconut oil, vanilla extract, and salt. This will create a sweet and slightly buttery mixture that’ll coat your oats and nuts perfectly.
- Toss It All Together: Pour the wet ingredients over the dry mixture, and give it a good stir. You want to make sure the oats and nuts are evenly coated in that sweet, vanilla goodness.
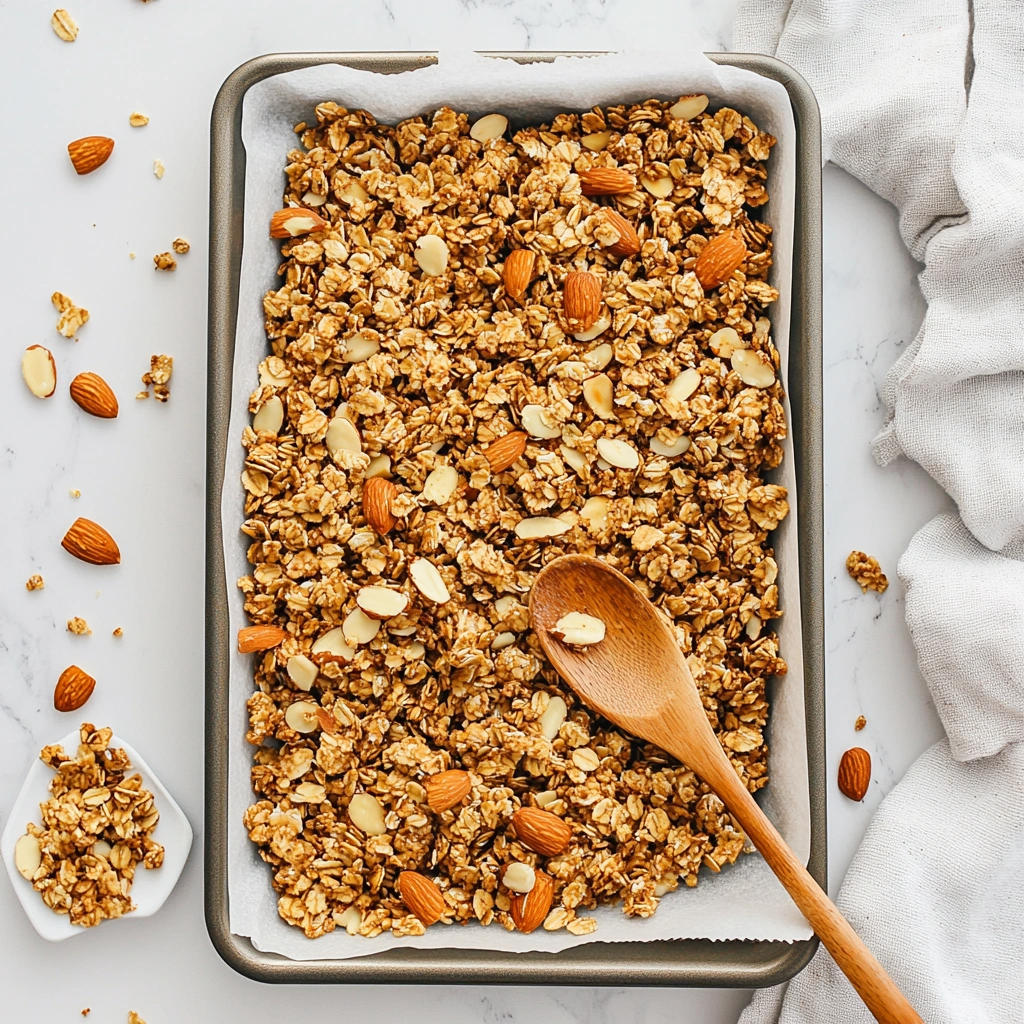
- Spread It on a Baking Sheet: Line a baking sheet with parchment paper (trust me, this helps with cleanup). Spread the granola mixture in an even layer. You want it nice and flat so it bakes evenly.
- Bake to Perfection: Stick the baking sheet in the oven and bake for about 20-25 minutes. Here’s the key: Stir the granola every 10 minutes so it bakes evenly and doesn’t burn. When it’s golden and crispy, you know it’s done. Your kitchen will smell AMAZING by now.
- Cool It Down: Let the granola cool on the baking sheet. It’ll continue to crisp up as it cools. You can snack on it right away, but I recommend letting it fully cool so it gets that satisfying crunch.

Customize Your Granola: Add Your Favorite Mix-ins
One of the best things about making granola is that it’s totally up to you what you put in it. Want more protein? Add some sunflower seeds or chia seeds. Into dried fruit? Go ahead and toss in some raisins, dried cranberries, or apricots once the granola cools. If you’re feeling fancy, add a few chocolate chips after the granola has cooled down. A little chocolate never hurt anyone, right?
Craving something sweet? Check out this chocolate gravy recipe for a delicious treat to pair with your granola!
How to Store Vanilla Nut Granola
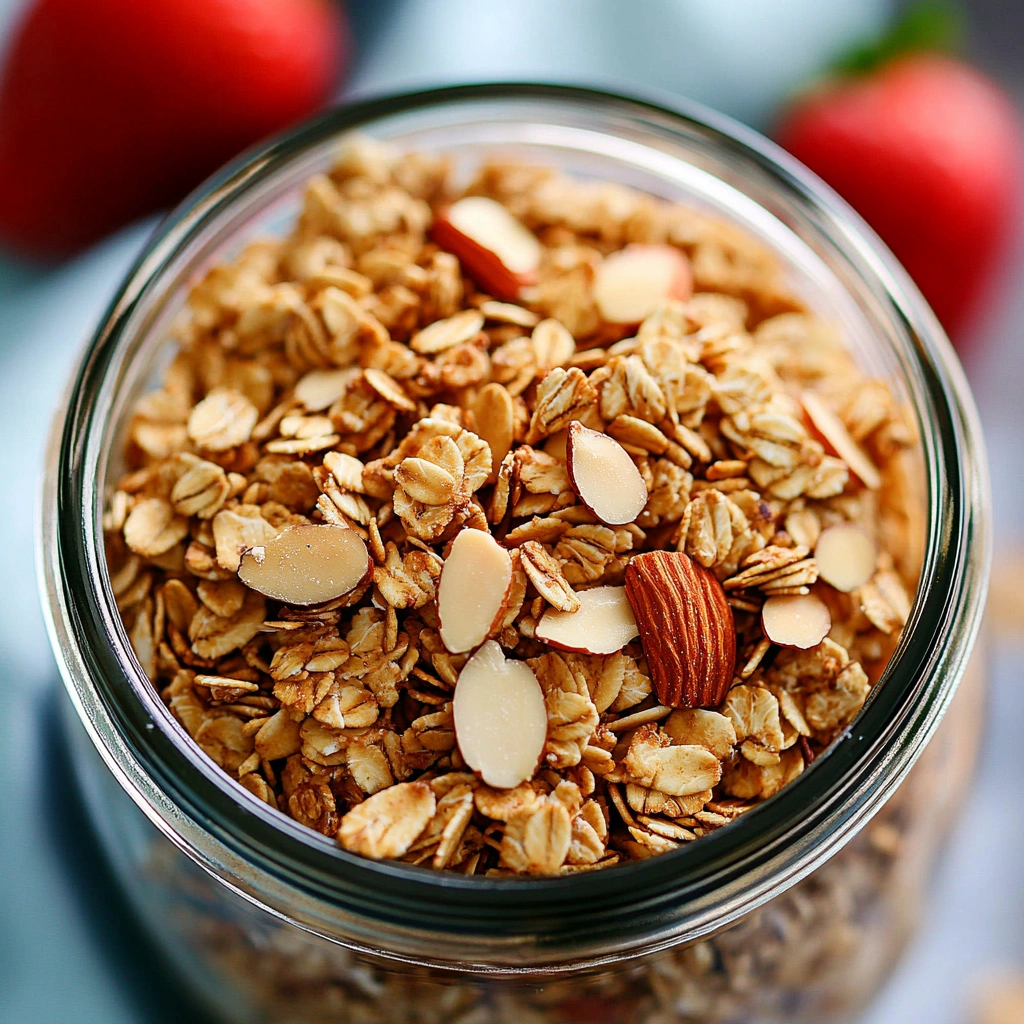
Okay, so you’ve baked your granola, and now you’re wondering how to keep it fresh. Here’s the deal: Once it’s fully cooled, store your homemade vanilla nut granola in an airtight container. I love using glass jars or those reusable silicone bags for easy storage.
It’ll last for about 1 to 2 weeks, but let’s be honest—it might not even last that long because you’ll be snacking on it like crazy. If you want to keep it even longer, you can store it in the fridge or freezer, but most of the time, I just keep it on the countertop.
Why Homemade Granola is Better Than Store-Bought
You know, I used to grab a box of granola from the store all the time. It was convenient, but I never loved how much sugar was packed into each serving. With homemade granola, you control what goes in, so you can cut back on the sugar and pack it full of healthy fats and fiber. Plus, it’s a lot fresher and doesn’t come with all those weird preservatives.
And let’s not forget—homemade granola is way cheaper than the store-bought stuff. Trust me, if you’ve got a big batch of oats and nuts lying around, you’ll get so much more granola for your buck than you would with a $5 box from the store.

How to Serve Vanilla Nut Granola
The options are endless here. You can enjoy it for breakfast, as a snack, or even as a topping. Here are a few ideas to get you started:
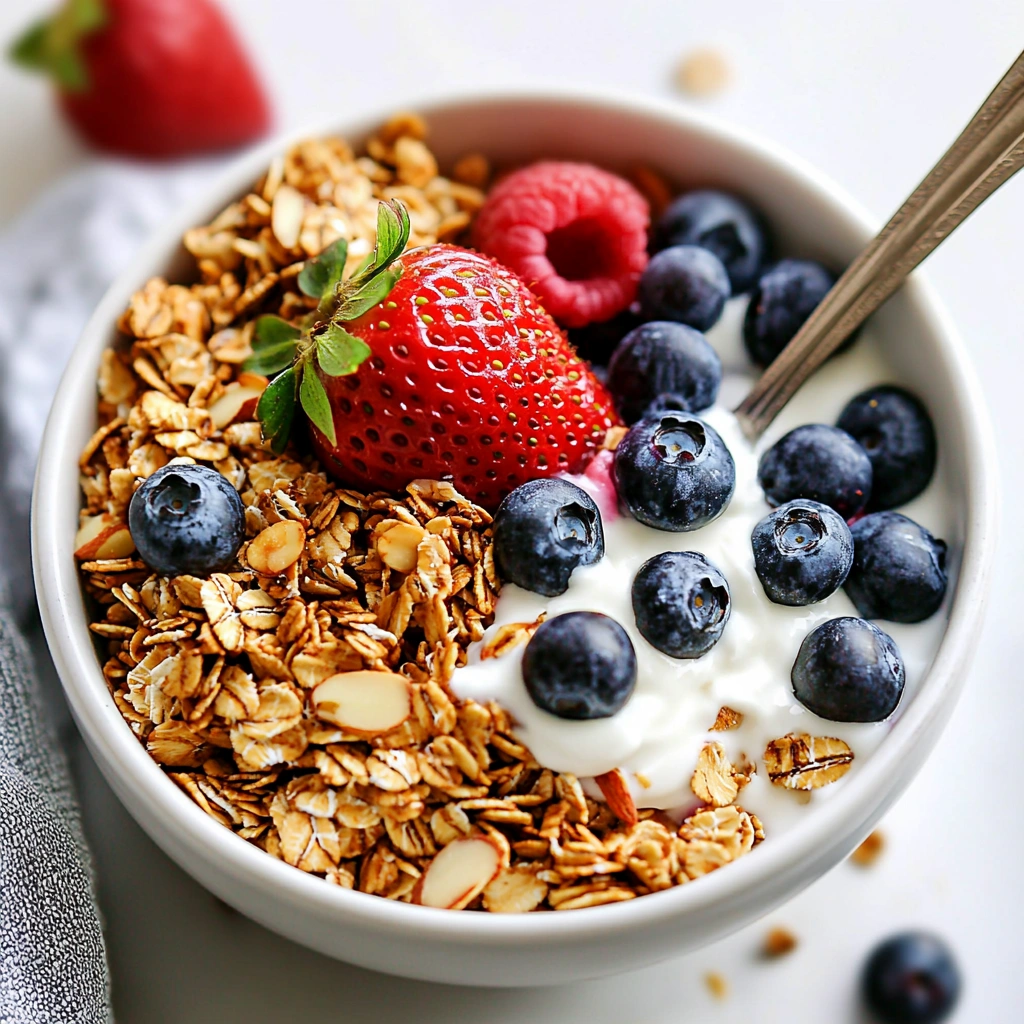
- With yogurt: Layer it with your favorite Greek yogurt for a simple breakfast or snack. Add some fresh berries for extra flavor!
- Over smoothie bowls: Add some granola on top of your smoothie bowl for crunch and flavor.
- As a snack: Grab a handful straight out of the jar—it’s the perfect crunchy snack when you’re feeling peckish.
- In milk: Turn it into a quick breakfast cereal by pouring some milk over your granola. It’s like a healthy twist on your childhood cereal days.
The Health Benefits of Homemade Vanilla Nut Granola
We all know that homemade granola is healthier than the store-bought stuff, but let’s break down exactly why this Vanilla Nut Granola is a better choice. First off, granola made at home means you control what goes in, so you can skip the extra preservatives, sugars, and artificial flavorings that are often added in the store. By making it yourself, you get a granola that’s packed with whole, wholesome ingredients that your body will love.
Oats, which are the base of this granola, are high in fiber and have been shown to help reduce cholesterol levels. They’re also great for keeping you full longer, so you won’t be reaching for that second (or third) snack before lunchtime. Then there’s the addition of nuts like almonds and walnuts. These are packed with healthy fats, protein, and antioxidants—basically the perfect ingredients for keeping your energy levels stable throughout the day.
And let’s not forget about coconut oil! While it’s not the lowest-calorie option out there, coconut oil contains medium-chain triglycerides (MCTs), which are healthy fats that can provide a quick source of energy. Pair all of that with a touch of vanilla for flavor, and you’ve got a granola that’s as good for your taste buds as it is for your body.
Vanilla Nut Granola for Meal Prep: A Week’s Worth of Easy Snacks
If you’re anything like me, mornings can be a bit of a rush. You’ve got the kids to get ready, your coffee to brew, and maybe you’re trying to squeeze in a workout before you head out the door. That’s where homemade Vanilla Nut Granola comes in handy. It’s the perfect addition to your meal prep routine.
I love making a big batch of this granola at the start of the week. It’s a grab-and-go breakfast or snack that requires zero effort once it’s done. Whether I’m tossing it into a bowl with some milk or layering it in a parfait with Greek yogurt and fresh fruit, I’ve got a quick, healthy option that satisfies hunger without the processed sugar and mystery ingredients that come with store-bought granola bars. Plus, it’s super easy to store in an airtight container and keeps for up to two weeks.
Pro Tip: For those who want to make it even easier, you can prep individual portions by filling small jars with granola and your favorite toppings. That way, all you have to do is grab one on your way out the door!
A Sweet & Nutty Twist on Your Classic Oatmeal
Granola’s versatility goes beyond just being a snack or breakfast cereal. If you’re looking for something a little different to spice up your morning oatmeal, add a generous sprinkle of Vanilla Nut Granola on top! It adds the perfect crunch and sweetness to your warm bowl of oats.
Honestly, oatmeal can be a bit meh on its own sometimes. But with a little boost from homemade granola, you’ll be getting fiber, protein, and healthy fats all in one bite. Plus, the vanilla flavor from the granola pairs so well with the warm, comforting taste of oatmeal. Toss in some fresh fruit or a drizzle of honey, and you’ve got yourself a breakfast that feels like a treat without the added sugar.
Perfecting the Balance of Sweet and Savory in Vanilla Nut Granola
When it comes to granola, the balance between sweet and savory is key. And what’s great about this Vanilla Nut Granola recipe is that it gets the balance just right. The natural sweetness of maple syrup, combined with the rich, buttery vanilla flavor, is offset by the savory crunch of nuts like almonds and pecans.
What’s awesome is that you can play around with this balance based on your preferences. If you want a more pronounced savory flavor, you can add a pinch of sea salt or toss in a bit of rosemary or thyme for a herb-infused twist. This savory-sweet combo will keep your taste buds guessing—and loving every bite.
On the flip side, if you’re more of a “sweet tooth” person (no judgment here!), feel free to drizzle a little extra maple syrup or sprinkle in some brown sugar before baking. The beauty of homemade granola is that you have total control over the flavor profile.
Vanilla Nut Granola: A Great Gift Idea
If you’re looking for a thoughtful and delicious gift, homemade Vanilla Nut Granola is a fantastic option. Package it in a cute mason jar or airtight container with a nice ribbon, and you’ve got yourself a gift that’s personal, tasty, and practical. Whether it’s for the holidays, a birthday, or just because, this granola will definitely be a crowd-pleaser.
The best part? Since granola lasts for a couple of weeks, it’s a gift that can be enjoyed over time. Plus, you can customize the nuts or dried fruits based on the recipient’s preferences. Want to make it extra special? Add a little handwritten recipe card to the gift, and they’ll be able to make it themselves when they run out. Now that’s a gift that keeps on giving!
How to Make Your Vanilla Nut Granola Extra Crunchy
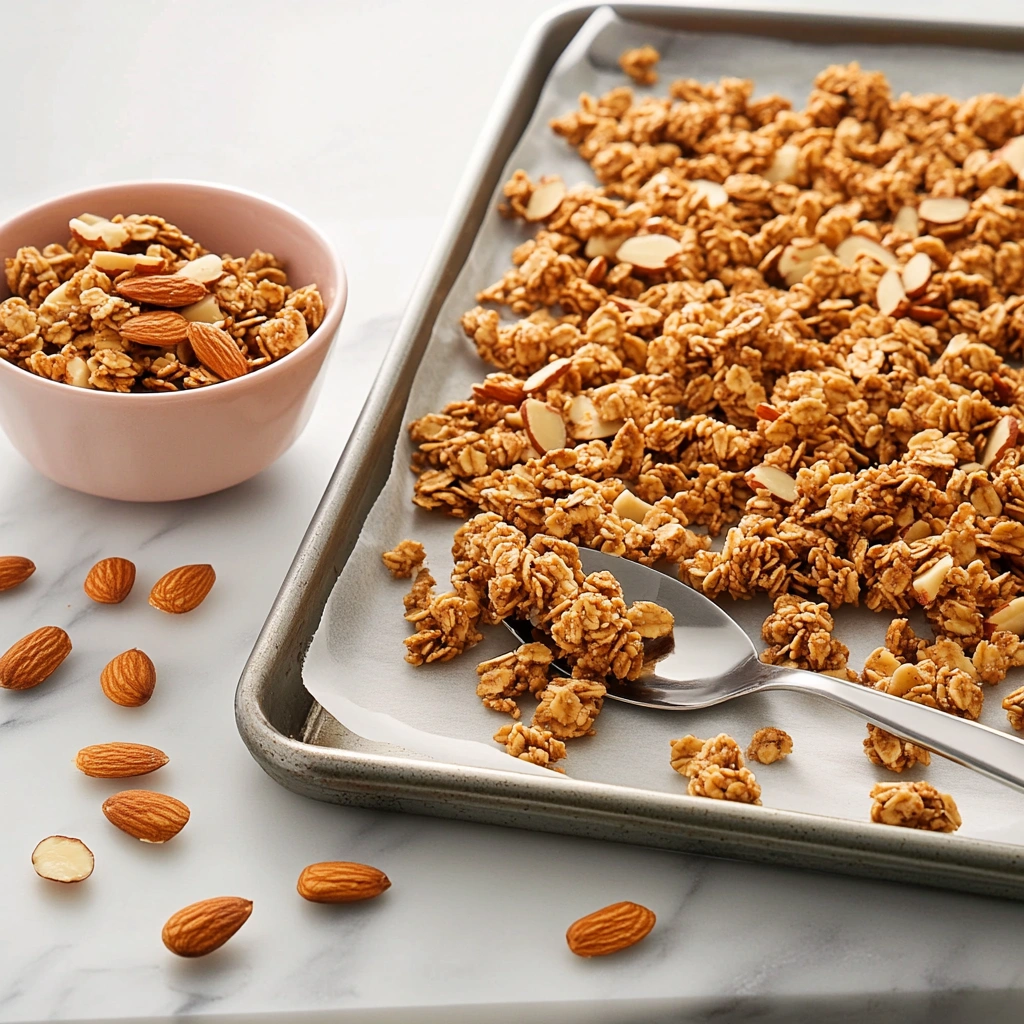
Want to make sure your Vanilla Nut Granola is perfectly crunchy every time? Here’s the trick: don’t stir the granola too often while it’s baking! Stirring it less allows it to clump together, which creates those crunchy clusters that everyone loves.
Another tip is to press the granola down gently with a spatula once it’s spread out on the baking sheet. This helps it stick together and bake into crunchy, golden chunks. You’ll thank me when you’re munching on those crispy bits!
If you like your granola extra crispy, you can even leave it in the oven a bit longer—just be sure to keep an eye on it so it doesn’t burn. The key is to let it cool completely before storing it, as it will firm up as it cools, giving you that satisfying crunch in every bite
FAQs
Can I use other nuts?
Absolutely! Granola is super customizable. You can use whatever nuts you love—cashews, pistachios, hazelnuts, you name it. Just keep the total amount of nuts the same, so the balance stays right.
Can I make this granola without coconut oil?
Yes, you can. If you prefer a different oil, go ahead and swap it out. I’ve tried using olive oil, and it works just fine. You can also use butter if you want a richer taste.
How can I make my granola clump together?
If you like big clumps of granola, don’t stir it too often while it bakes. Also, pressing the granola down into the pan while it’s still warm can help create those big, crispy clusters you’re craving.
Can I make this granola vegan?
Yup! Just swap out the honey for maple syrup and make sure you’re using plant-based ingredients for the rest. Easy peasy.
Conclusion
There you have it—your very own Vanilla Nut Granola recipe, ready to bring a burst of flavor and crunch into your daily routine. Whether you’re enjoying it with yogurt, sprinkling it over oatmeal, or just grabbing a handful as a snack, this homemade granola is sure to become a staple in your kitchen. The best part? You’re in control of every ingredient, so you can tailor it to suit your taste perfectly.
Making your own granola is not only incredibly satisfying, but it’s also a great way to enjoy a healthier snack without all the added sugars and preservatives. Plus, you can get creative with the ingredients! Want more nuts? Throw them in! Prefer a touch of dried fruit? Go for it! With this Vanilla Nut Granola recipe, the possibilities are endless.
So, go ahead—whip up a batch today, and experience the magic of fresh, homemade granola. Trust me, once you taste it, you’ll never look back. Happy baking (and snacking)!


1 thought on “Homemade Vanilla Nut Granola Recipe: Crunchy, Sweet, & Easy”