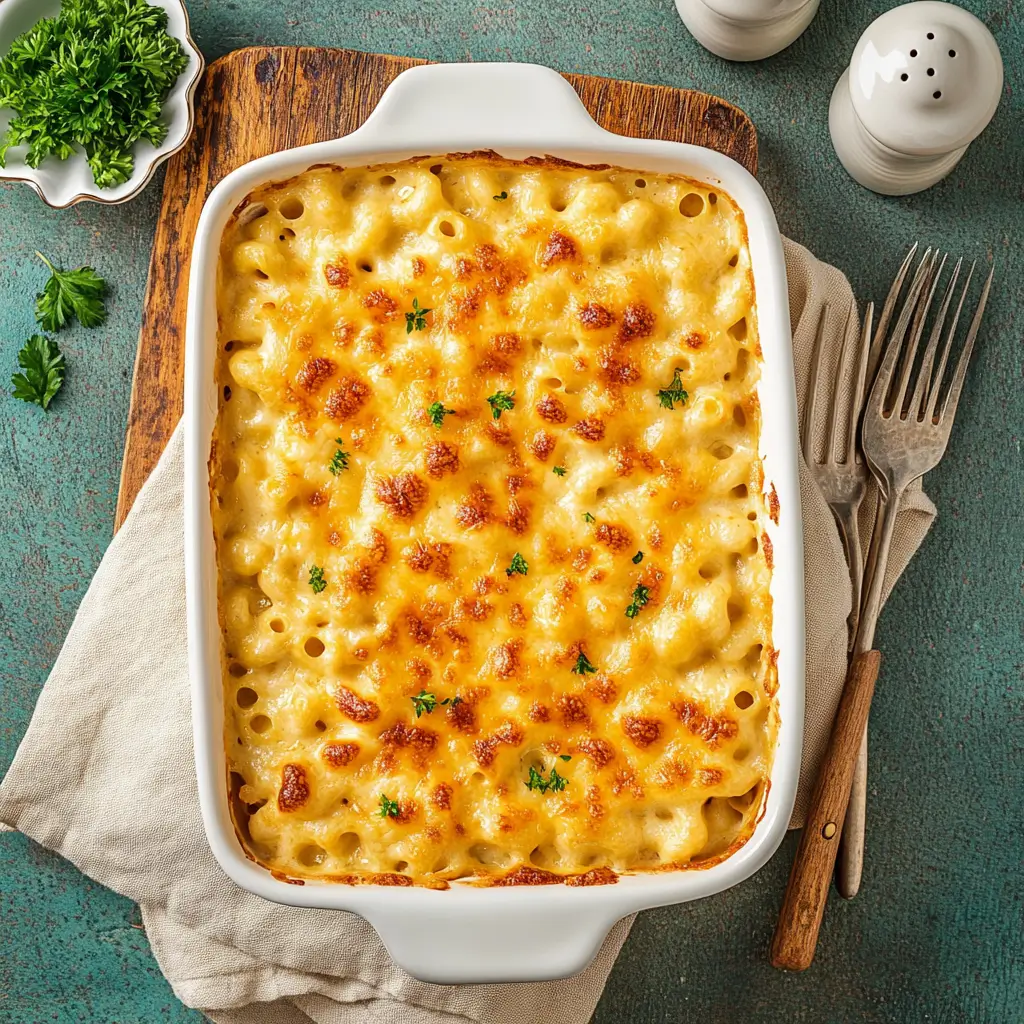
Tini Mac and cheese is the one dish that offers pure comfort at the table. But there are times when elbow macaroni doesn’t fit the bill when craving something different. Tini Mac and Cheese is here-it’s deem-icious little bits of cheesy goodness in a small, irresistible package. This recipe takes your favorite comfort food to a whole other level, making it fun and portable but oh-so-good. Awesome for parties, snacking, or even a quick dinner, this Tini Mac and Cheese is a game changer.
Table of Contents
Table of Contents
Why Tini Mac and Cheese?
What’s better than mac and cheese really? Mini mac and cheese. Yup, bite-sized, crispy around the edges, and perfectly cheesy in the middle. They are like the comfort food’s size for snacking or sharing. Who doesn’t want a tiny little crispy mac and cheese cup in a hand?
I stumbled upon this as I was thinking of something fun to bring to the party. Regular mac and cheese sounded too messy, and I didn’t want dishes and spoons, you know? But these small Tini Mac and Cheese cups? Big win. So easy to make, everyone loves them, and they bake crispy outside yet still have a creamy inside. Honestly, you can even end up making a batch for just yourself-for that, I won’t judge you.
For more on the surprising health benefits of cheese, check out this article on Lively Run.
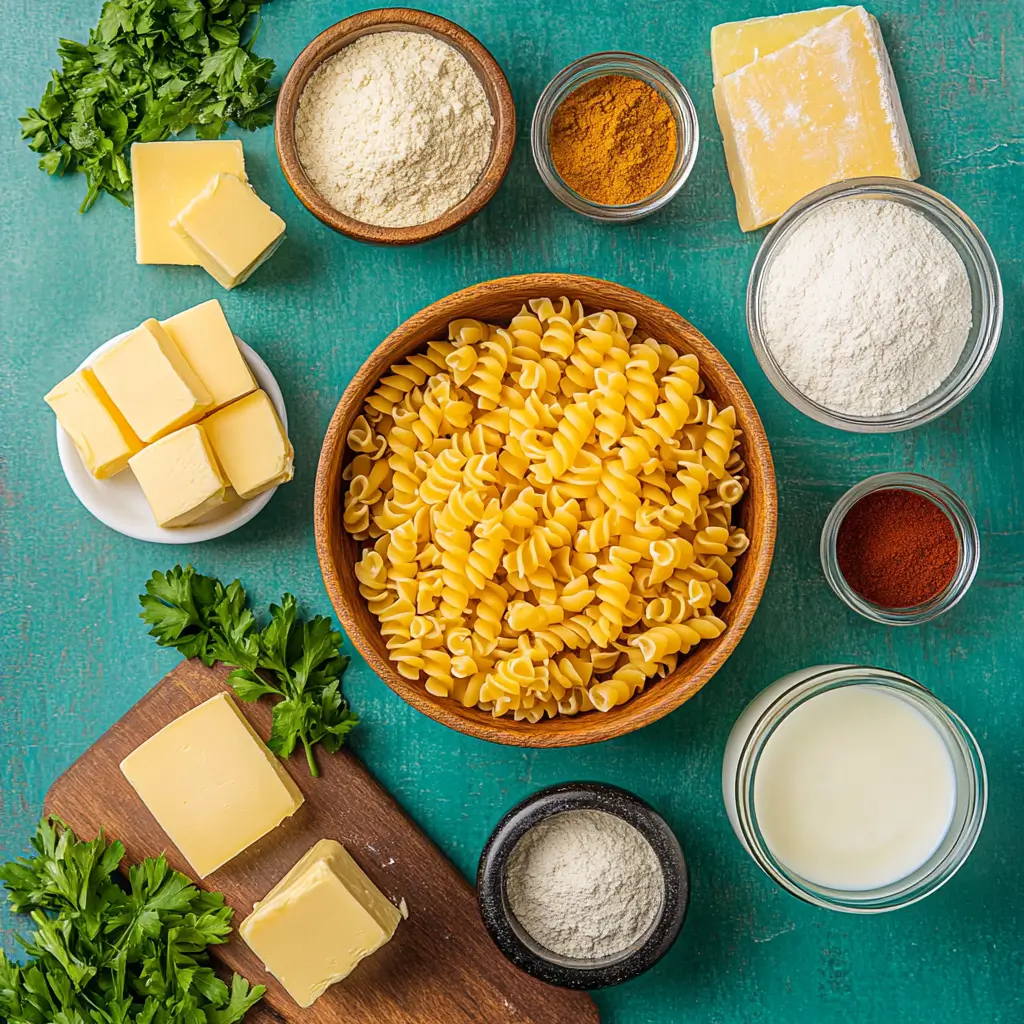
Ingredients You’ll Need
Before we dive into the magic, let’s talk about the ingredients you’ll need to whip up these Tini Mac and Cheese bites. Don’t worry—it’s not complicated. I like to keep things simple and delicious!
For the Tini Mac and Cheese Cups:
- 1 lb elbow macaroni (or your favorite small pasta)
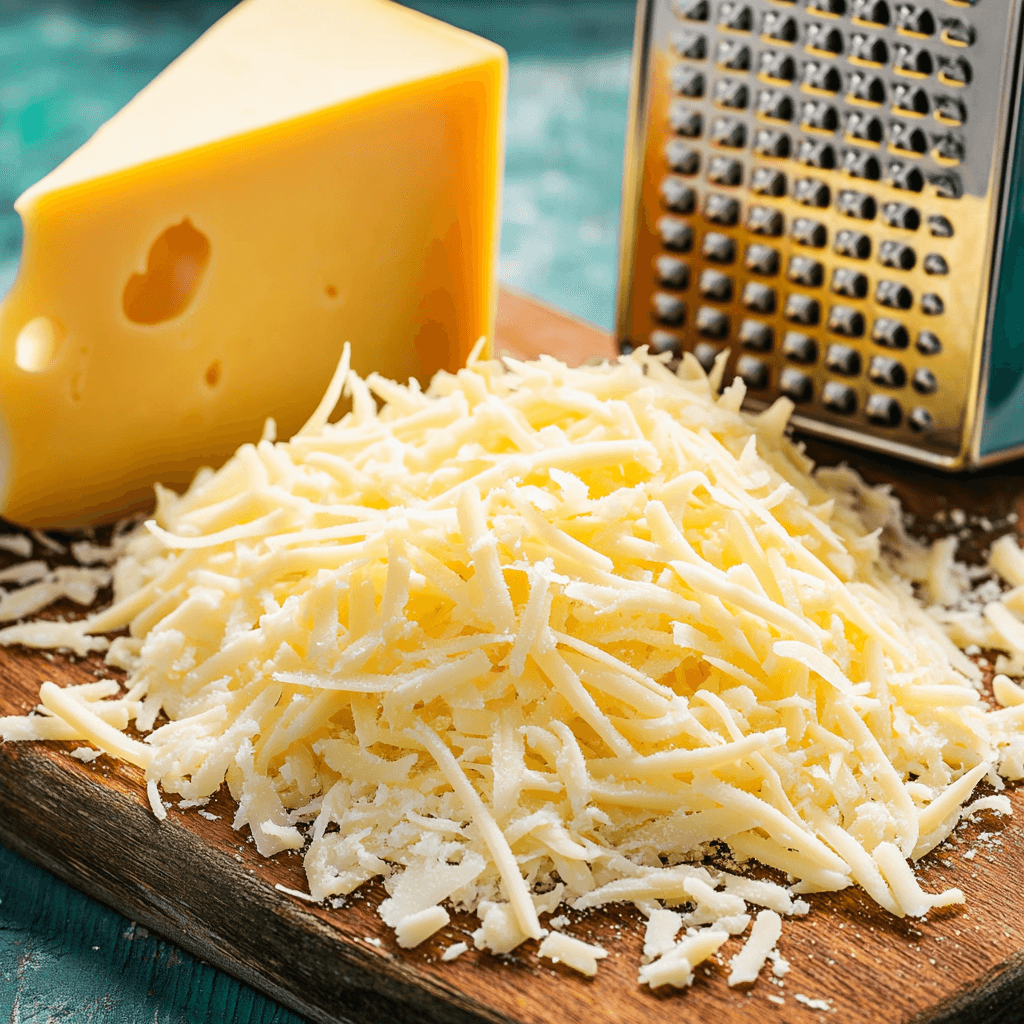
- 2 cups shredded sharp cheddar cheese (go for the real stuff, it makes a difference!)
- 1 cup shredded mozzarella cheese (for that melty goodness)
- 1/2 cup grated Parmesan cheese
- 2 cups whole milk (or heavy cream for extra richness)
- 1/4 cup unsalted butter
- 2 tablespoons all-purpose flour (this is for thickening the sauce)
- 1 teaspoon garlic powder
- 1/2 teaspoon onion powder
- 1/4 teaspoon ground mustard powder (trust me, it adds a nice flavor kick!)
- Salt and pepper to taste
- 1/2 cup breadcrumbs (for that crispy topping!)
- 1/4 cup fresh parsley (optional, but it adds a pop of color)
For the Tini Mac and Cheese Cups (Optional):
- Bacon bits or crumbled sausage (optional, but worth it if you’re into savory goodness)
- Chopped jalapeños (for a little heat, if you like a spicy twist)

How to Make Tini Mac and Cheese
Alright, now for the fun part—putting everything together! Here’s the step-by-step breakdown of how to make these bite-sized cheesy dreams come true.
Step 1: Cook the Pasta
Cook your pasta before anything else; boil salted water with macaroni per package instructions until just tender; you don’t want it to be overcooked as it will finish cooking in the oven. Drain the pasta and leave it to cool slightly. It is okay if they stick a little since they will separate when combined with the sauce.
Step 2: Make the Cheese Sauce
Now, it is the process of making the creamy cheese sauce. In a large saucepan, melt the butter over medium heat. When the butter melts, add flour and whisk it well. Keeping whisking for about 2-3 minutes until the mixture becomes golden and starts bubbling. This is the roux that will help in thickening the sauce.
Pour slowly the milk (or cream) into the sauce, whisking to keep the lumps at bay. Stir it up until it thickens so that it coats the back of a spoon-would take about five minutes. Now, when this getting quite thick, add some garlic powder, followed by onion powder and finally mustard powder, then season for salt and pepper taste.
Here is now the place for magic: Ed slowly accountable as to shredding cheddar cheese, melting him in some mozzarella and Parmesan. He then continued stirring until he reached a point of meltingly smooth consistency. The sauce should now be looking all velvety and cheesy, practically begging to be poured over the pasta.

Step 3: Mix the Pasta and Cheese Sauce
Take that cooked pasta and mix it right into the cheese sauce. Stir it all together until the pasta is fully coated with that creamy, cheesy goodness. If you want to add any extra toppings like bacon or jalapeños, now’s the time to stir them in!
Step 4: Prep the Muffin Tin
Okay, now let’s make these bites happen! Preheat your oven to 350°F (175°C). Spray a mini muffin tin with cooking spray, or grease it with butter so that the little mac and cheese cups don’t stick. You could also use a regular muffin tin if that’s all you have, but mini muffin tins work best for this recipe.
Step 5: Fill the Muffin Tin
Spoon the cheesy pasta mixture into each muffin cup, packing it down a little so it’s nice and snug. You want them to hold together when they bake, so don’t be shy with the filling.
Step 6: Add the Crunchy Topping
Top each mac and cheese cup with a generous sprinkle of breadcrumbs and a little extra Parmesan cheese. This will give them a crispy, golden top when they bake. If you’re feeling fancy, you can also sprinkle a little parsley on top for color.
Step 7: Bake to Perfection
Pop the muffin tin in the preheated oven and bake for about 15-20 minutes, or until the tops are golden and crispy. You’ll see the edges get a little bit crunchy, and that’s when you know they’re ready. Let them cool in the tin for a few minutes before gently removing them.
If you’re looking for more chicken recipe ideas, check out this guide to thin-sliced chicken breast recipes for inspiration.

Tips for Making Tini Mac and Cheese
- Use Different Cheeses: Don’t be afraid to experiment with different cheeses! Gruyère, gouda, or even a little bit of cream cheese will add a fun twist.
- Make It Ahead: These little mac and cheese cups can be made ahead and stored in the fridge for up to two days. Just bake them, let them cool, then cover and refrigerate. When you’re ready to serve, just pop them in the oven to reheat for 10-15 minutes.
- Customize the Filling: Go wild with add-ins! Think crumbled sausage, chopped spinach, or caramelized onions. You can even make them vegetarian-friendly with roasted veggies!
- Keep the Pasta Al Dente: You don’t want your pasta to be too soft before baking. Make sure it’s just al dente so it doesn’t turn mushy after baking.
How to Serve Tini Mac and Cheese
These Tini Mac and Cheese cups are perfect for so many occasions. You can serve them as appetizers at a party, pack them in lunchboxes, or enjoy them as a fun weeknight dinner. They’re also great for game day or movie nights when you want something easy to munch on.
FAQs About Tini Mac and Cheese
What pasta does Tini use for mac and cheese?
Tini Mac and Cheese is typically made with elbow macaroni, but you can also use other small pasta shapes like shells, rotini, or cavatappi. The key is to choose a pasta that holds the creamy cheese sauce well while fitting perfectly into mini muffin tins.
What cheese does Tini use?
The best cheese combination for Tini Mac and Cheese includes sharp cheddar, mozzarella, and Parmesan. Cheddar gives it a bold flavor, mozzarella adds a gooey, melty texture, and Parmesan brings a slight nuttiness. You can also experiment with Gruyère, gouda, or Monterey Jack for a different twist.
How do you thin out mac and cheese?
If your mac and cheese is too thick, you can add a little warm milk or cream and stir until it reaches the desired consistency. You can also mix in a bit of melted butter or broth for extra smoothness. Avoid adding too much liquid at once—start with a tablespoon at a time.
What day is National Macaroni and Cheese Day?
National Macaroni and Cheese Day is celebrated on July 14th every year. It’s the perfect excuse to whip up a batch of creamy, cheesy mac and cheese—whether classic or in bite-sized Tini Mac and Cheese form!
Conclusion
Tini Mac and Cheese is a game-changer when it comes to enjoying classic comfort food in a fun, bite-sized form. These crispy, golden-edged, creamy-centered mac and cheese cups take everything you love about the traditional dish and make it even better. Perfectly portioned and easy to eat, they’re ideal for parties, appetizers, or even a quick weeknight meal.
What makes these little bites so special? It’s the combination of rich, melty cheeses, a crunchy breadcrumb topping, and that satisfying balance between crispy and gooey in every bite. Plus, they’re incredibly versatile—mix in bacon for a smoky touch, jalapeños for a spicy kick, or experiment with different cheeses like gouda or Gruyère for a gourmet twist.
One of the best parts about Tini Mac and Cheese is that they can be made ahead of time, stored in the fridge, and quickly reheated, making them a stress-free option for any occasion. Whether you’re serving them at a party, packing them for lunch, or just treating yourself to a fun snack, these cheesy bites never disappoint.
So, the next time you’re craving mac and cheese, think outside the bowl. Give this Tini Mac and Cheese recipe a try, and experience the magic of crispy, cheesy goodness in every single bite. Once you do, you’ll never look at mac and cheese the same way again!
Want even more delicious ideas? Check out our Pinterest page for mouthwatering recipes and kitchen tips!


6 thoughts on “Tini Mac and Cheese Recipe: The Ultimate Comfort Food That’s Even Better Bite-Sized!”