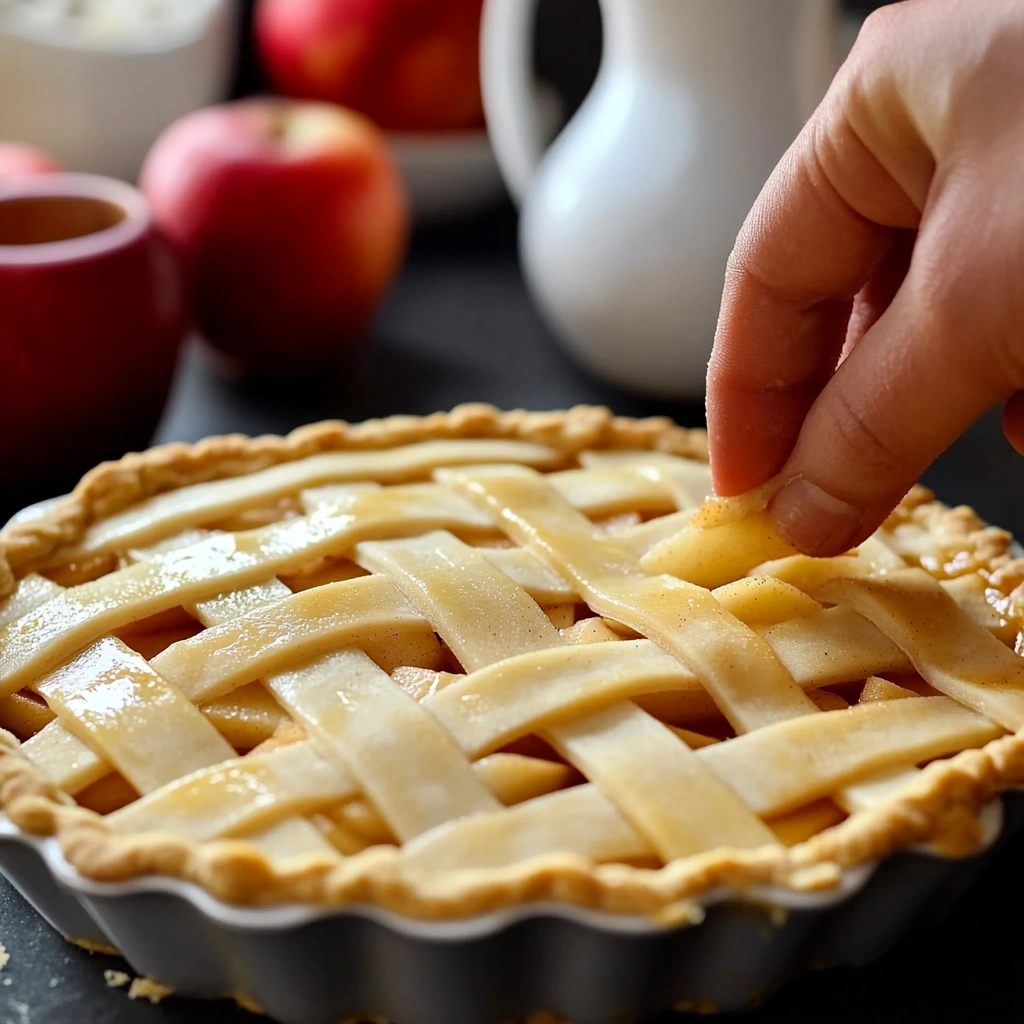
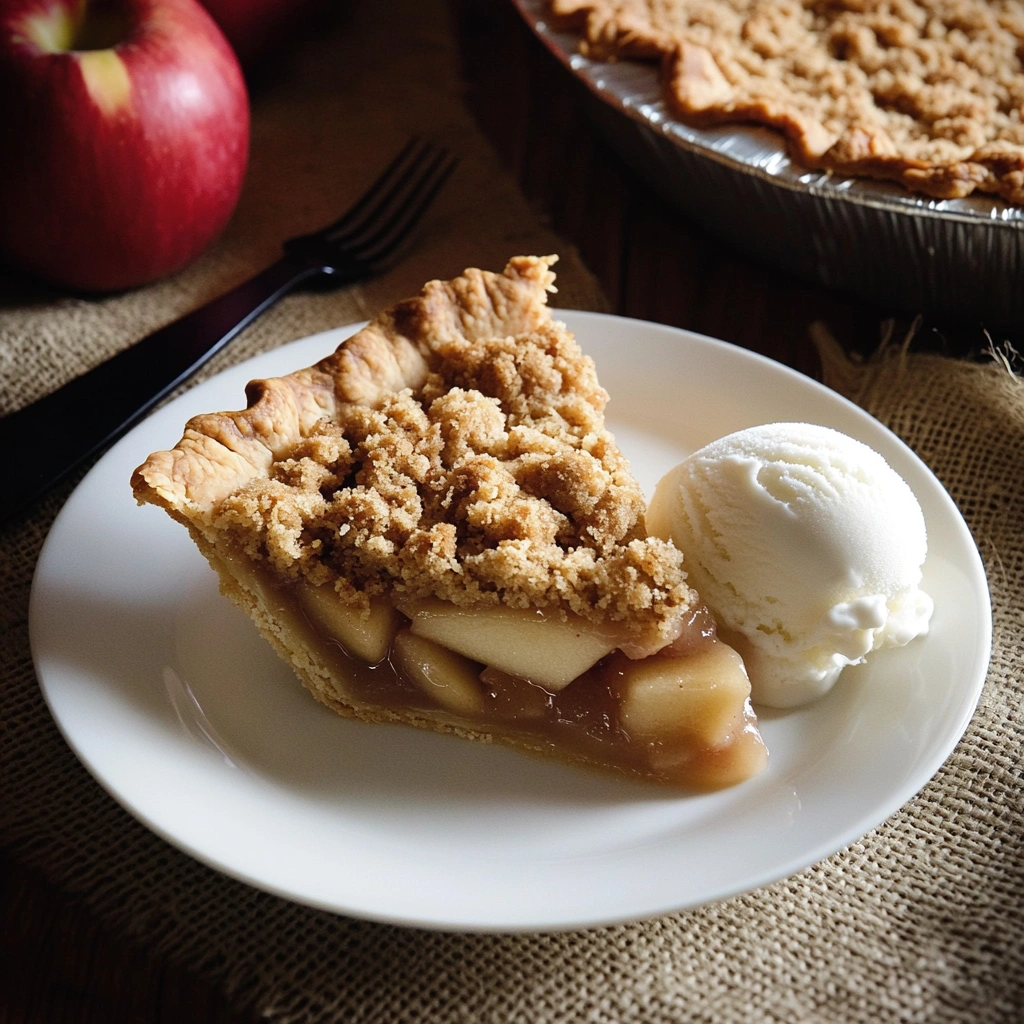
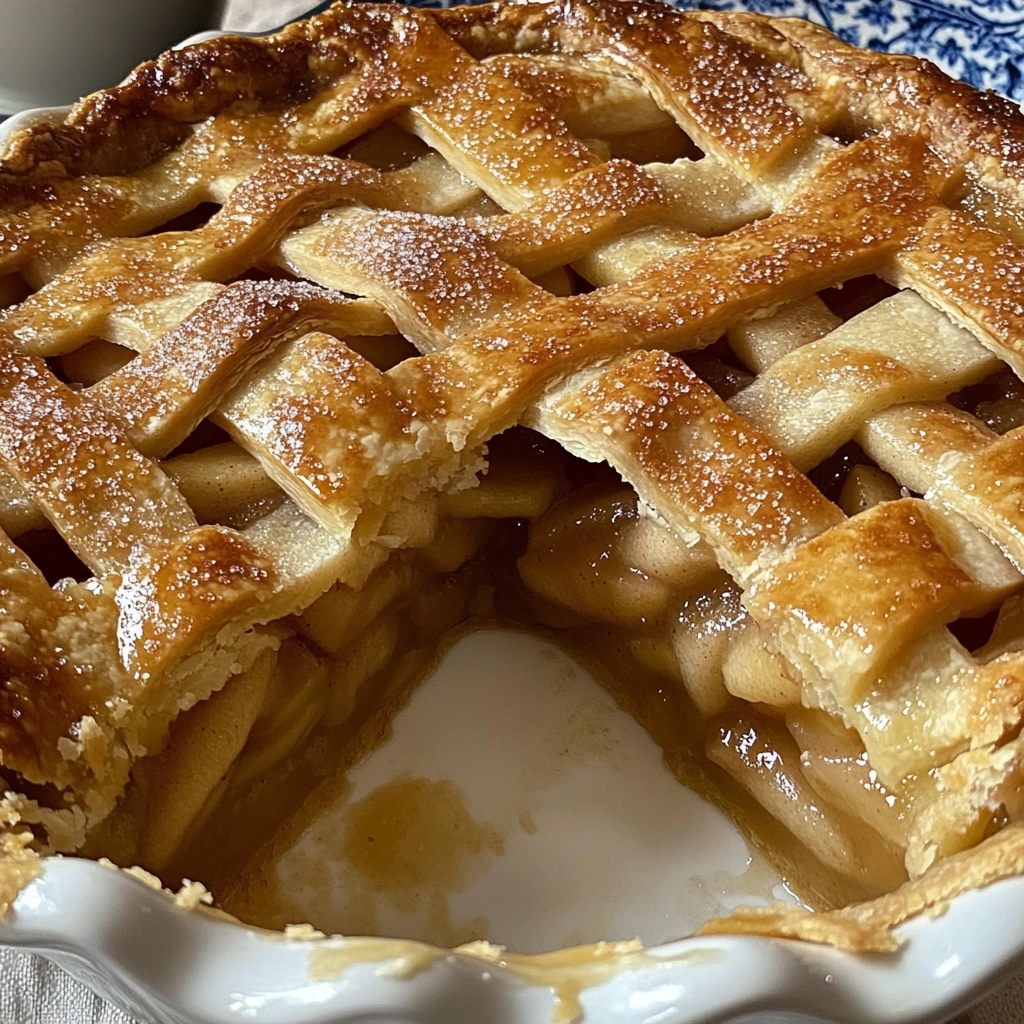
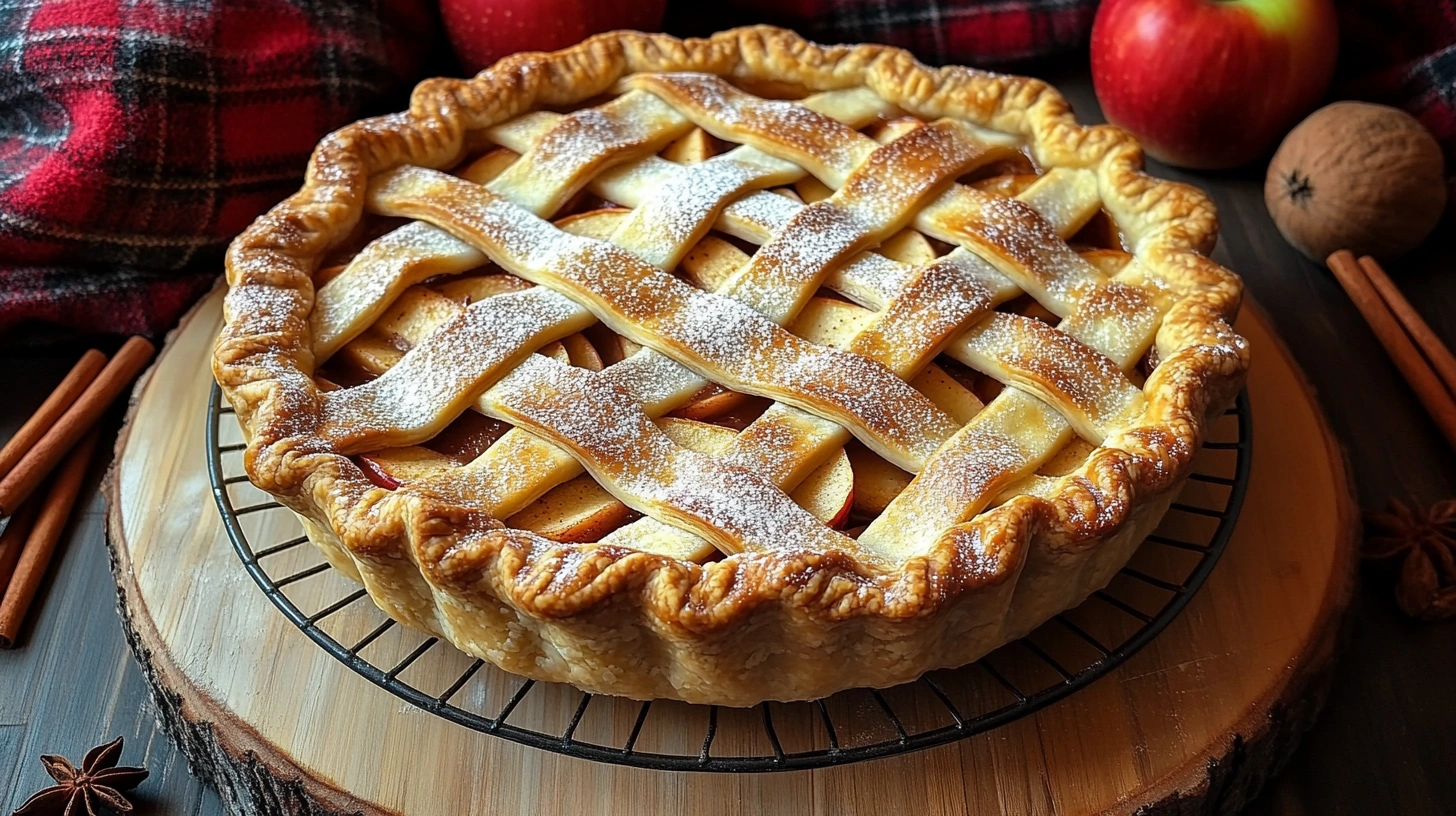
Okay, let’s talk apple pie, but not just any apple pie. This is the French Apple Pie—and trust me, once you try it, you’ll wonder why you ever bothered with the regular kind! Picture this: a buttery, flaky crust, layered with tender cinnamon-spiced apples, and topped with a sugary, crunchy streusel that adds the perfect amount of sweetness. It’s honestly a game-changer!
You know, apple pie has always been a classic comfort food, but the French take on it? Chef’s kiss. The addition of a crumbly streusel topping and a hint of vanilla turns the humble apple pie into something a little more fancy but just as easy to make. Seriously, this pie might just become your new go-to for fall gatherings, Thanksgiving, or any time you want to impress guests with your baking skills.
So, if you’re craving a pie that’s as cozy as a warm blanket but with an extra touch of “wow,” this French Apple Pie is exactly what you need. Plus, it’s not as tricky as you might think. Stick with me here—I’ll walk you through every step!
Table of Contents
Table of Contents

French Apple Pie
- Total Time: 3 hrs 15 mins
- Yield: 12 servings
Description
French Apple Pie has a buttery, flaky crust with a sweet, cinnamon apple filling and, unlike a traditional apple pie, is topped with a crumb topping rather a second crust. This apple pie is a comforting and delicious dessert that is perfect for any occasion!
Ingredients
For Pie Crust:
▢1 ¼ cups (158 grams) all-purpose flour
▢½ teaspoon salt
▢9 tablespoons (127 grams) unsalted butter cold and cubed
▢¼ cup ice water
For Pie Filling:
▢6 apples diced or sliced
▢¾ cup (160 grams) light brown sugar packed
▢1 ½ tablespoons cornstarch
▢1 ½ teaspoons cinnamon or apple pie spice
▢juice of ½ lemon
For Crumble Topping:
▢½ cup (106 grams) light brown sugar packed
▢⅓ cup (40 grams) all-purpose flour
▢1 teaspoon cinnamon or apple pie spice
▢4 tablespoons (56 grams) unsalted butter softened
Instructions
For Pie Crust:
- In a medium bowl combine the flour and salt.
- Add the cold butter. Using clean hands work it into the flour until it is a coarse texture with a few larger chunks.
- Slowly drizzle the cold water in a little bit at a time, working it into the dough. When the dough begins to clump together stop adding water.
- Form the dough into a disc shape and cover. Chill for at least 2 hours.
- Spray a pie dish with non-stick spray. Set aside.
- Place the dough on a clean and floured surface and begin to roll it out. The dough should be about ⅛ of an inch thick.
- Pick the dough up by rolling it around your rolling pin and then unrolling it over the pie dish. Adjust the dough so that it lays flat against the pie dish. You can cut off or crimp the edges to your liking.
- Place the crust in the fridge until ready to use.
- Preheat the oven to 450 degrees (F)
For Pie Filling:
- In a large bowl add the diced apples, brown sugar, cornstarch, cinnamon or apple pie spice, and lemon juice. Toss until the apples are fully coated. Allow to sit for five minutes.
For Crumble Topping:
- In a small bowl, combine sugar, flour, butter, and cinnamon or apple pie spice. Use clean hands or a fork to mix together until the butter is broken up and the mixture has a coarse texture.
For Assembly:
- Pour the pie filling into the cold crust and spread out evenly.
- Pour the crumble over the top of the apples and spread out evenly. Place the pie in the preheated oven and bake for 10 minutes then turn the oven down to 350 degrees (F) and bake for another 45 minutes. Remove from the oven and allow to cool before serving.
Notes
- Keep the pie dough cold. You want the pie dough to be as cold as possible right up until you put it in the oven, otherwise there could be a lot of leakage of butter or the pie dough could shrink up too much.
- The provided nutrition information is an estimate. The calorie accuracy is not guaranteed.
- Prep Time: 20 mins
- Cook Time: 55 mins
- Category: Dessert
- Cuisine: French
Nutrition
- Serving Size: 1slice
- Calories: 295kcal
- Sugar: 31.9g
- Sodium: 1628mg
- Fat: 12.2g
- Saturated Fat: 7.7g
- Carbohydrates: 47.5g
- Fiber: 3.2g
- Protein: 2.8g
- Cholesterol: 33mg
Why Is It Called French Apple Pie?
You might be wondering, “What’s so French about it?” Well, unlike a traditional American apple pie, which has a double crust, French Apple Pie swaps out the top crust for a streusel topping. This topping is typically made of butter, flour, sugar, and sometimes oats or nuts. It adds a crumbly, sweet contrast to the soft, spiced apples inside, and honestly, it’s the best part.
This pie also tends to have a lighter, flakier crust, which lets the apples shine a bit more. It’s less about the pie being French, and more about the texture and flavor profile that French pastry influences bring—flaky crusts, buttery layers, and that unbeatable golden-brown finish.
But enough of the history lesson—let’s get to the good stuff, shall we?

Ingredients You’ll Need for the Perfect French Apple Pie
Before you grab your apron, here’s a quick rundown of everything you’ll need. I promise it’s not a long list, and you’ve probably got most of these in your kitchen already. (If not, you’ll be running to the store in no time!)
Pie Crust:
- 1 1/4 cups all-purpose flour
- 1/4 teaspoon salt
- 1/4 cup unsalted butter (cold and cut into cubes)
- 1/4 cup vegetable shortening (or more butter if you prefer)
- 2-4 tablespoons ice water
For the Filling:
- 6 cups apples (a mix of Granny Smith and Honeycrisp works great)
- 1/2 cup granulated sugar
- 1/4 cup brown sugar (light or dark, your choice)
- 2 tablespoons all-purpose flour
- 1 teaspoon ground cinnamon
- 1/2 teaspoon ground nutmeg
- 1 tablespoon lemon juice (freshly squeezed)
- 1 teaspoon vanilla extract (optional but highly recommended!)
For the Streusel Topping:
- 1/2 cup all-purpose flour
- 1/3 cup granulated sugar
- 1/3 cup unsalted butter (cold and cubed)
- 1/4 teaspoon ground cinnamon
- Pinch of salt
Step-by-Step Guide to Making the Best French Apple Pie
Step 1: Make the Pie Crust
Now, we’re going to start with the pie crust. I know, I know—making crust can seem a little intimidating. But trust me, with this method, you’ll nail it.
- Combine the flour and salt in a large mixing bowl. Whisk it together so it’s all nice and even.
- Cut the cold butter and shortening into the flour mixture. You can use a pastry cutter, two forks, or your hands (my favorite method because I’m all about getting messy). You want the mixture to look like coarse crumbs with pea-sized chunks of butter. That’s what gives it the flaky texture.
- Add ice water a little at a time. You want just enough to bring the dough together without making it too wet. Stir with a fork, and once it starts coming together, use your hands to form a ball. Don’t overwork it—this is key to getting that nice, flaky crust.
- Chill the dough. Wrap it in plastic wrap and stick it in the fridge for at least 30 minutes. This will help the crust stay firm and not shrink when baking.
Step 2: Prepare the Apple Filling
While your dough is chilling, let’s prep the apples. This is the part where you’ll start to smell the amazing aromas that are going to make your house smell like a bakery!
- Peel and slice the apples. Aim for 1/4-inch slices—this way, they’ll cook evenly and stay tender without turning mushy.
- Toss the apple slices with sugar, brown sugar, cinnamon, nutmeg, flour, lemon juice, and vanilla. I usually just use my hands to give everything a good mix so that the apples are evenly coated. The flour helps thicken up the juices while baking, giving you that perfect filling consistency.
At this point, you can almost taste it, right? Don’t be surprised if a few apple slices accidentally make their way to your mouth. It happens to the best of us.
Step 3: Roll Out the Dough
Now that your dough has chilled, it’s time to roll it out. Don’t stress—if it cracks a little, you can always patch it up. The rustic look is part of the charm!
- Roll the dough out on a lightly floured surface into a circle large enough to fit your pie pan. About 12 inches across should do it.
- Transfer the dough to the pie pan, gently fitting it into the bottom and up the sides. Trim any excess dough hanging over the edges, and fold the edges under for a neat, thick border. You can crimp the edges with a fork or pinch them into a decorative pattern.
- Preheat the oven to 400°F while you prepare the streusel topping.
Step 4: Make the Streusel Topping
The streusel topping is what really makes this pie pop. It’s the perfect sweet, crunchy contrast to the tender apples below.
- Mix the flour, sugar, cinnamon, and salt together in a bowl.
- Cut in the cold butter using a pastry cutter or fork until the mixture becomes crumbly with pea-sized chunks of butter. This should only take a minute or two.
- Sprinkle the streusel evenly over the apple filling. You want to cover the apples completely, and don’t be shy about the topping! You can even pile it on for extra crunch.
Step 5: Bake and Enjoy!
Now that everything is assembled, it’s time to pop this beauty in the oven. But before we do that:
- Place the pie on a baking sheet to catch any drips while it bakes.
- Bake at 400°F for 45-50 minutes, or until the crust is golden brown and the apples are bubbling up through the streusel topping. You might want to check it halfway through—if the crust is getting too dark, cover the edges with aluminum foil to prevent burning.
Once it’s done, take it out and let it cool for at least 30 minutes (I know, I know, it’s hard to wait). This lets the filling set, so you don’t end up with a soupy mess when you cut into it.

Tips for Perfecting Your French Apple Pie
- Use a mix of apples. I love using Granny Smith for tartness and Honeycrisp for sweetness. You can even throw in a few Golden Delicious or Braeburn for balance.
- Don’t overfill the pie. If your apples are piled too high, the streusel topping won’t have enough room to spread out evenly. A nice, level layer is best.
- Let it cool. I know it’s tempting to dig in right away, but trust me—the flavors develop as it cools down. Plus, the filling will set better, making for a cleaner slice.
Looking for more delicious dessert ideas? Check out this pink macaron recipe for a sweet treat!
Why French Apple Pie is the Ultimate Fall Dessert
French Apple Pie is the ultimate fall dessert. When the weather cools down and the leaves start to change, this pie is the one everyone craves. It’s a perfect fit for Thanksgiving, family gatherings, or a cozy afternoon at home.
The rich, buttery crust, sweet spiced apple filling, and crunchy streusel topping make it feel like a warm hug in dessert form. As the pie bakes, your kitchen will fill with the inviting aroma of cinnamon and apples, reminding you of everything you love about fall. What makes French Apple Pie stand out is the extra French twist, turning a classic American dessert into something even more special. It’s the kind of pie that can be served with a scoop of vanilla ice cream or a dollop of whipped cream to make it truly irresistible. Trust me, this pie will be the star of your fall dessert table!
Can I Customize My French Apple Pie?
Yes! One of the best things about French Apple Pie is how easily it can be customized to match your tastes. While the classic version is already delicious, you can get creative with just a few simple changes.
For a nuttier twist, mix chopped pecans or walnuts into the streusel topping for added crunch. Want to boost the flavor? A splash of bourbon or rum added to the apples gives the pie a warm, rich kick that’ll have everyone asking about your secret ingredient! You can also experiment with different apple varieties—Granny Smith apples are perfect for tartness, but Fuji apples bring sweetness, while McIntosh apples create a soft, juicy filling. If you’re feeling adventurous, sprinkle cinnamon sugar on top before baking for a beautifully caramelized finish. With French Apple Pie, the possibilities are endless, so have fun making it your own!

How to Serve French Apple Pie for the Holidays
When it comes to holiday desserts, French Apple Pie is a guaranteed crowd-pleaser. Whether you’re hosting Thanksgiving, Christmas, or a simple family dinner, this pie is sure to be the star of the meal. It’s not just delicious—it’s impressive enough to wow your guests. Serve it with a scoop of homemade vanilla ice cream or a dollop of freshly whipped cream for the perfect balance of warm and cold.
If you want to take it up a notch, drizzle some caramel sauce on top—because, why not? The cinnamon-spiced apples and sweet streusel topping pair wonderfully with a warm drink like spiced cider or coffee. Best of all, French Apple Pie can be made ahead of time and served warm or at room temperature, making it super easy for holiday hosting. Just make sure you have enough forks, because once people taste it, they won’t want to stop!
FAQs
Can I make this pie ahead of time?
Yes! You can easily prepare the pie the day before. Just bake it, let it cool, and store it in an airtight container. When you’re ready to serve, simply warm it up in the oven for about 10 minutes.
What apples are best for French apple pie?
The best apples for French apple pie are a mix of tart and sweet apples. I recommend Granny Smith for tartness and Honeycrisp for sweetness. If you like your pie a bit more on the tart side, you can add in some Braeburn or Jonagold apples.
Can I freeze French apple pie?
Yes! If you want to freeze your French apple pie, assemble the pie but don’t bake it. Wrap it tightly in plastic
Conclusion
And there you have it—your new go-to pie for any occasion! French Apple Pie is the perfect balance of classic comfort and a little French flair, making it a hit at any dinner table, whether it’s a casual family gathering or a holiday celebration. From the buttery, flaky crust to the tender, cinnamon-spiced apples and the irresistible streusel topping, every bite is a reminder of why this pie is so special.
Honestly, once you taste it, you’ll probably never want to make a regular apple pie again. The French twist adds a whole new level of texture and flavor, and the best part is—it’s surprisingly easy to whip up! Whether you customize it with your favorite apples or add in a little something extra to the topping, this pie is as adaptable as it is delicious.
So, next time you’re craving a warm dessert that’s both comforting and impressive, French Apple Pie is the answer. Get ready for compliments (and maybe even some requests for the recipe). Trust me, it’s a pie that’s bound to become a family favorite for years to come. Happy baking, and enjoy every sweet, crunchy, cinnamon-filled bite!
Want even more delicious ideas? Check out our Pinterest page for mouthwatering recipes and kitchen tips!


1 thought on “The Best French Apple Pie Recipe: A Sweet Twist on Tradition”